The Overglow Edit nail art tutorial: Skinny Dip Tips
07 January 2021 – 3 min read
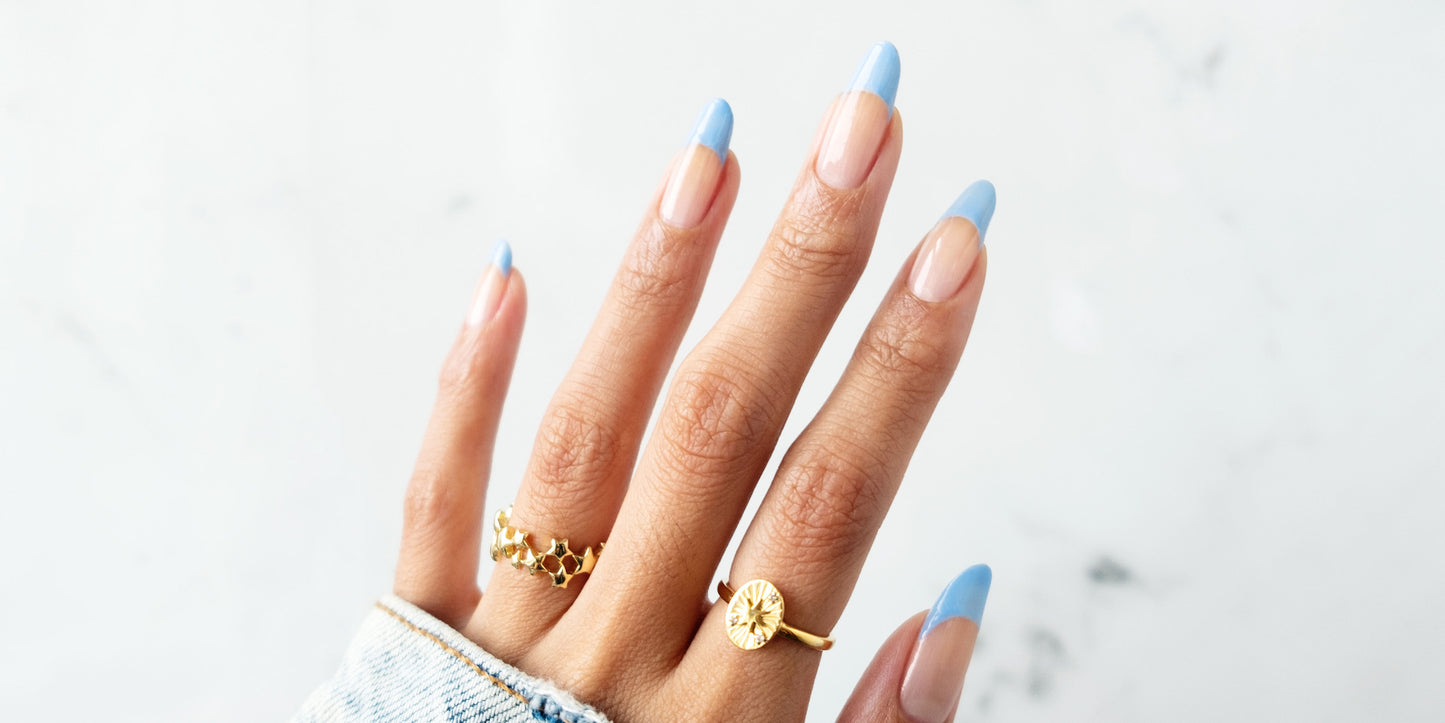
Ready for a cold snap? We’ve partnered with beauty and skincare super-fan Melanie Graves of the Overglow Edit to bring you a bunch of new styles to sport all summer, starting with these Skinny Dip Tips which really lean into the negative space trend. We’ve featured our naturally balanced nail colour ‘Skinny Dip’ for a crisp, clean blue hue; but we know this style would look brilliant in any pick of pastel.
What you will need
- Cotton pads and Kester Black Nail Cleanser
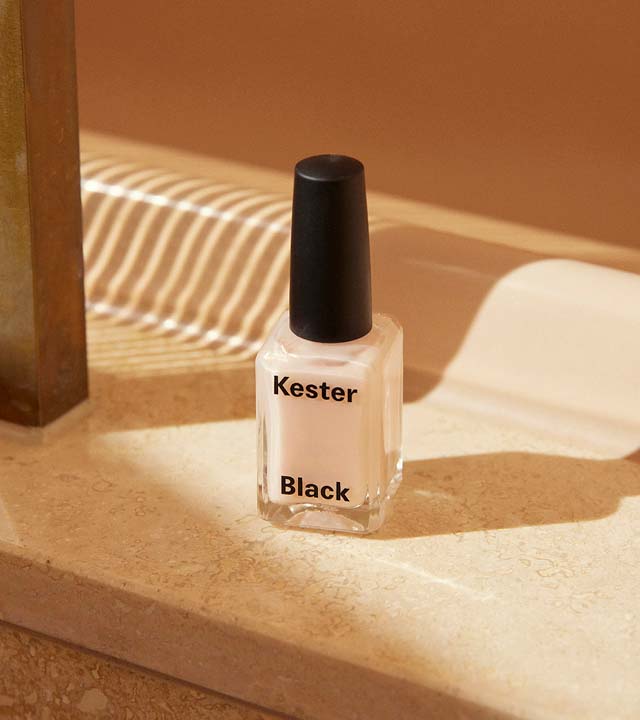
- Kester Black Miracle Treatment Base Coat
- Kester Black Nail Polish of your choice
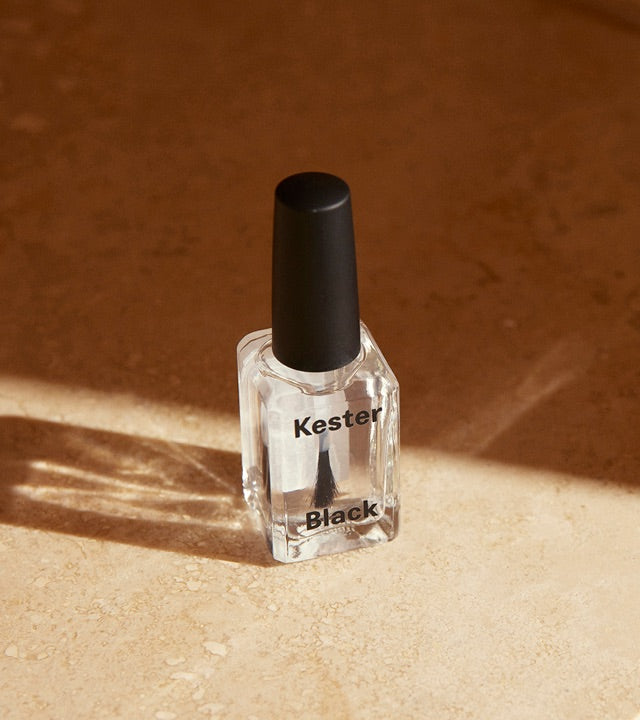
- Kester Black Supersonic Top Coat
- Kester Black Self Love Oil
- A thin tipped nail art brush
Tool tip:
In true MacGyver form, we’ve put some tips together to help you craft-your-own nail art tools using items commonly found around the house:
- Make a thin-tipped nail brush from a regular paint brush by snipping off some bristles, dipping them in a top coat and securely taping them at one end after they’ve dried. Tape this to a pen or pencil for mobility and away you go.
- Toothpicks make for a great pointed tip in the absence of brushes.
- Pacers or mechanical pencils (so futuristic) make great lining tools, but require some extra TLC due to their fragility. Wield wisely.
Step 1. Clean, prep and file
For dramatic effect, this look works best on very long nails. But, you can make this look work on shorter nails, with a few millimetres of free edge (the white part of your nail that hangs over your fingertips). We recommend a round or oval-shaped nail for this look. Find out how to achieve this, with our nifty nail shape guide. Prep for paint by gliding a cotton pad soaked in nail cleanser over each fingernail. Even if your nails are polish-free, cleansing them before painting will prevent your tips from chipping prematurely.
SHOP NAIL CLEANSER

Step 2. Bring on the base
Fact: Nail polish sticks to a base coat more readily than your natural nail. While this is a negative space look, a base coat will give your polished tips a foundation to cling to. Apply a thin layer of your chosen base coat and allow it to dry. We recommend our Miracle Treatment Base Coat, especially if you have shorter or damaged nails, as it will help hasten the healing process and nurture your nails under your look. This formula triples as a base, treatment, and pretty pearlescent colour - so really you’re bringing home the whole package in one nifty bottle.
SHOP MIRACLE TREATMENT BASE COAT

Step 3. Define and outline
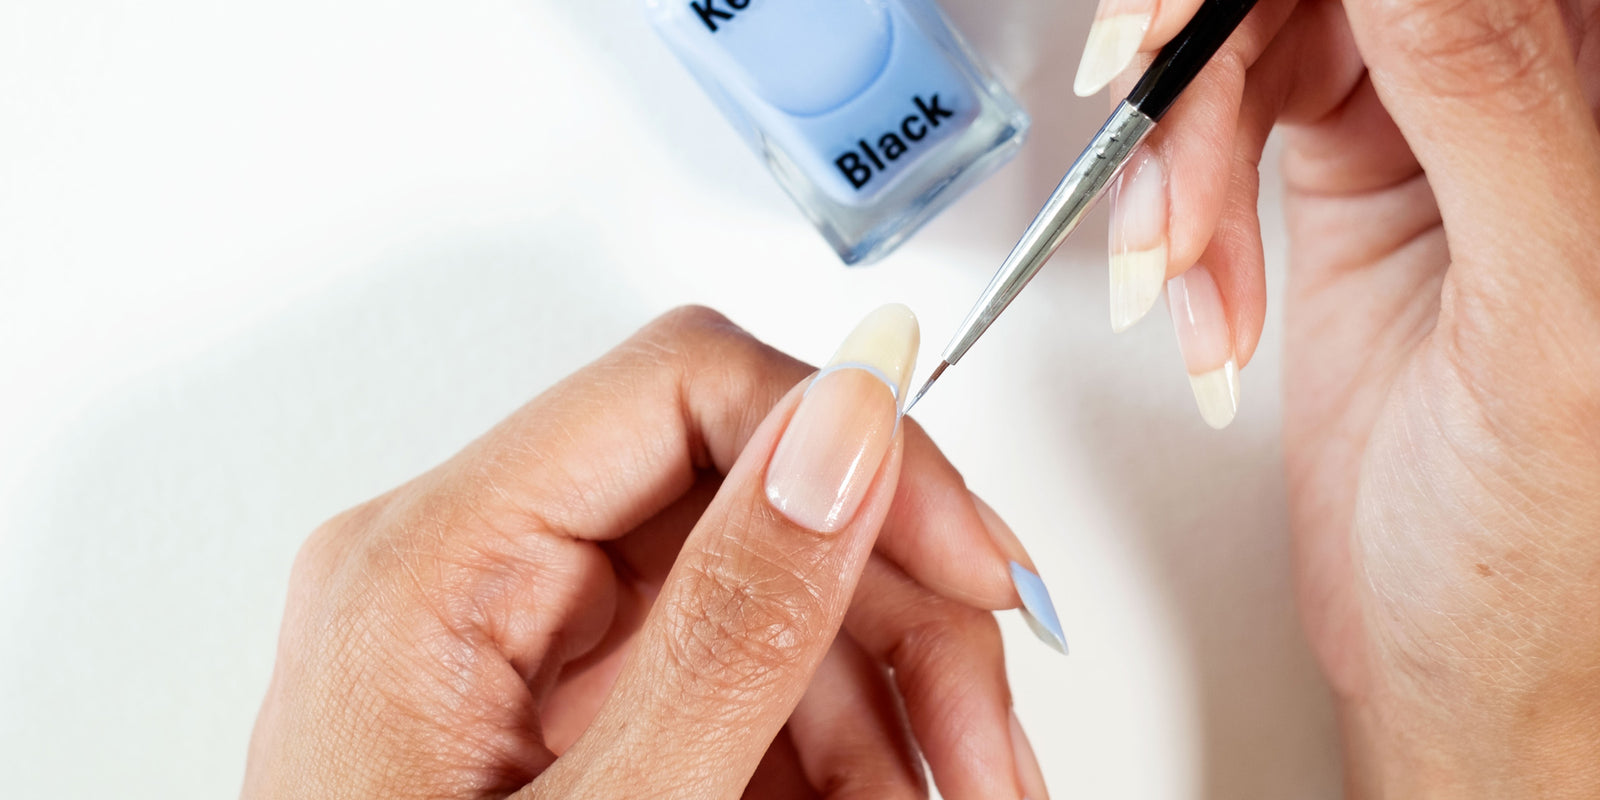
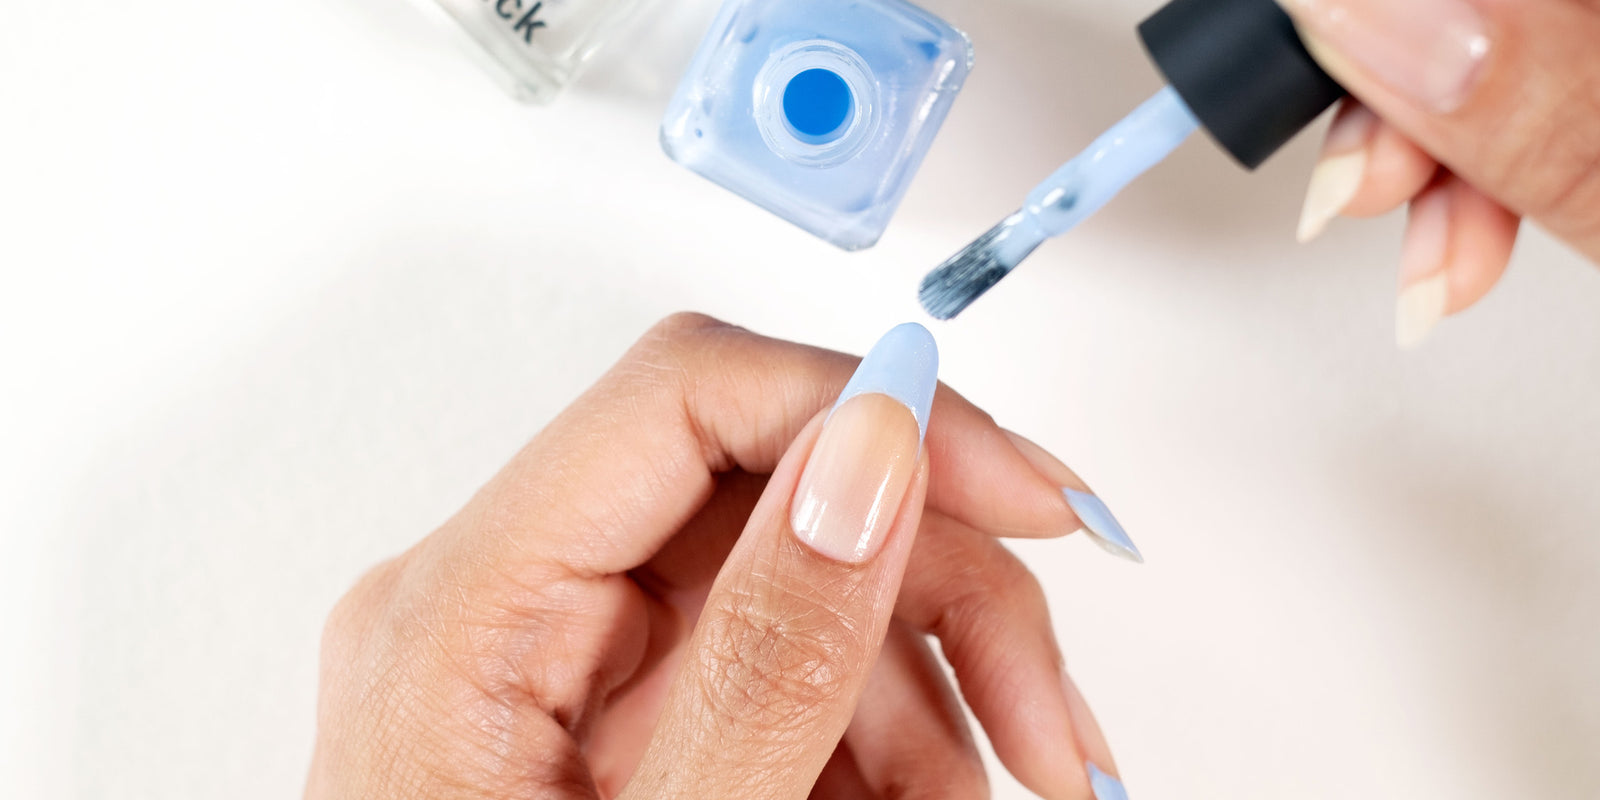
Using Skinny Dip, take a thin-tipped nail art brush and paint a curved line along the white of the tip of your nail. To keep this stroke dainty, make sure to only dip your brush into enough polish to draw a faint line.
Step 4. Fill me in
Carefully fill-in this section, painting from the faint line to the tip of your fingernail. Allow to dry for five minutes before applying a second coat. On shorter nails, this style takes on more of a French manicure-feel (ooh-la-la); so the longer your nails, the more dramatic the effect.
Step 5. Seal the deal
Complete your look by applying a top coat. We recommend our Supersonic Top Coat so you can start showing off these icy wonders sooner - 90 seconds sooner to be precise. Once you’re touch-dry, apply a drop of Self Love Oil to your cuticles for maximum hydration.
SHOP NAIL CARE
Think you’ve got the skinny on this look? We’d love to see how you’ve recreated it at home. Please share all of your summer nail art with us by using #kesterblack and tagging us @kesterblack.
And once you’ve mastered this mani, there are plenty more to try over here.
