Party Nails: Get the look with the Overglow Edit
18 November 2020 – 6 min read
Collaborating with like minded creatives is one of our favourite things to do (it’s right up there with innovating). And working with Melanie Graves of The Overglow Edit is no exception. The skincare lover, influencer, and blogger is known for her honest beauty reviews and her positively nailspo-worthy nails.
Melanie’s brought us six Staycation Nail Sticker styles to swoon over paired with our 12-Free nail polish colours. So whether this is your first foray into nail art or you’re a seasoned manicurist, these styles are sure to lift your spirits just in time for the silly season.
What you will need
- Cotton pads and Nail Cleanser
- A pair of tweezers
- Staycation Nail Sticker set
- Miracle Treatment Base Coat
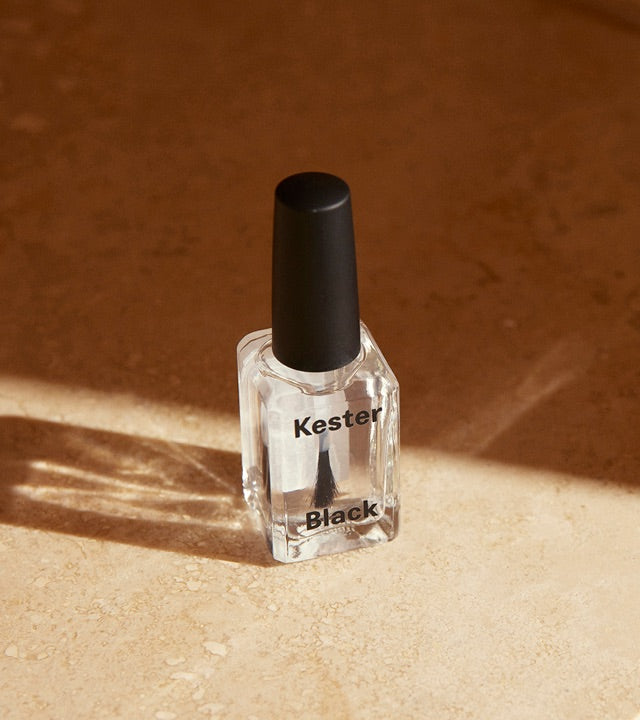
- Supersonic Top Coat
Tool tip
Some of these styles may require a thin-tipped nail art brush. But, if you don't have one handy, there are plenty of ways to fake it until you make it (to an online store to purchase your very own):
- Make a fine-tipped nail brush from a regular paint brush by snipping off some bristles, dipping them in a top coat and securely taping them at one end after they’ve dried. Tape this to a pen or pencil for mobility and away you go.
- Toothpicks make for a great pointed tip in the absence of brushes.
- Pacers or mechanical pencils (high tech stuff) make great lining tools, but require some extra TLC due to their fragility.
Put in the prep work
Perfection lies in good preparation. Set your nails up for long-lasting success by cleansing and filing them before painting. Glide a cotton pad soaked in nail cleanser over each fingernail. Even if they’re polish-free, cleansing your nails prevents premature chipping or flaking.
Apply a thin layer of your chosen base coat to each nail and allow to dry for approximately five-minutes. We’re partial to our award-winning Miracle Treatment Base Coat; a triple-threat treatment, polish and base, that makes for the perfect natural colour when worn under our stickers.

Merry Berries
To create this look you’ll need
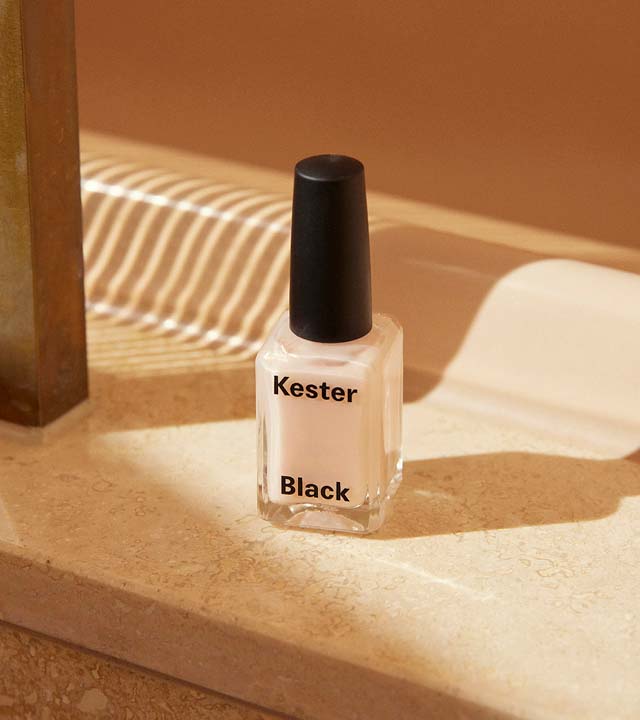
- Light Pink Nail Polish (we’ve used Coral Blush)
- Strawberry stickers from our Staycation Nail Sticker set
- A thin brush (please see our tool tips if you don’t have one of these)
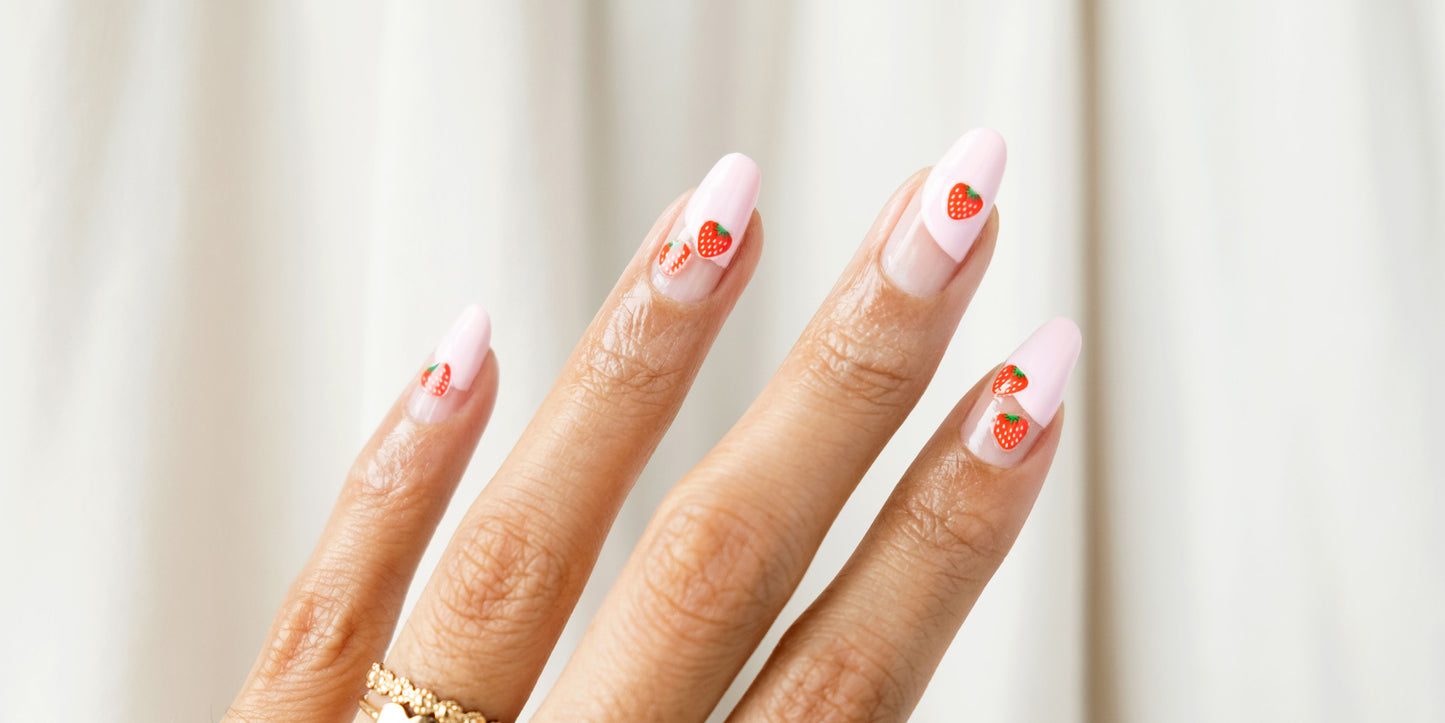
Take a thin brush dipped in light pink nail polish and paint a thin curved line from the top left corner of your nail, to about halfway down the right-side of your nail. Fill the top half with light pink nail polish and allow to dry before applying a second coat.
Once you’re sure your nails are dry (we cannot stress this enough) carefully peel a strawberry sticker from the sheet using a pair of tweezers. Apply the sticker to your nail, pressing down gently around the edges to seal. Mix it up by adding an extra sticker or two depending on your preferred style and nail length. Finish with a layer of top coat and allow to dry as you admire your pretty pastel punnets. We think this style looks best on an oval-shaped nail.

Mushroom Magic
- To create this look you’ll need
- White Nail Polish (we’ve used French White)
- Mushroom stickers from our Staycation Nail Sticker set
- A thin brush (please see tool tips)
Using a thin brush, carefully outline the tip of your nail with white nail polish. Fill-in and allow to dry before applying a second coat (if required). Once your nails are touch-dry, carefully peel a mushroom sticker from the sheet using a pair of tweezers. Apply the sticker to your nail, gently pressing down to seal. Add additional ‘shrooms in a scattered formation depending on your preferred style and nail length. Finish with a layer of top coat and allow to dry. Magic.

Pastel Petals
To create this look you’ll need
- Purple Nail Polish (we’ve used Peony)
- Flower stickers from our Staycation Nail Sticker set
Once you’ve completed our manicure-extending prep work (scroll up), apply a coat of purple nail polish to each nail and allow to dry before adding a second coat. When your nails are completely dry, carefully peel a flower sticker from the sheet using a pair of tweezers. Apply a sticker to the base of each nail, gently pressing down to secure in place. We find this look works best when you use a different coloured flower for each finger. Once you’re satisfied with your bunch, apply a layer of top coat to seal the deal.

Rocking Rainbows
To create this look you’ll need
- Light Orange Nail Polish (we’ve used Impeachment)
- Cream Nail Polish (we’ve used Easy Peasy)
- Mint Green Nail Polish (we’ve used Bubblegum)
- Light Blue Nail Polish (we’ve used Sky)
- Rainbow stickers from our Staycation Nail Sticker set
The key to this look is pairing pastels with pretty brights. Select a handful of colours, and apply one coat per nail, per colour. We’ve used a pretty pastel orange, cream, mint green and sky blue. Allow to dry before adding a second coat.
Once your nails are dry, carefully peel a rainbow sticker from the sheet using a pair of tweezers. Apply the sticker to your nail, gently pressing down to secure it in place. Repeat across all of your nails, adding extra rainbows as desired. Seal your stickers with a layer of top coat and allow to dry.

Smiley Season
To create this look you’ll need
- Smiley stickers from our Staycation Nail Sticker set
If you’re a fan of mood rings, you’re going to love this smiley style. All you need to do is prep and clean your nails, treating them to a layer or two of base coat. This is a vital step in achieving this look because top coats and stickers only properly adhere to a base coat or nail polish. Without it, your styles may be susceptible to early peeling. Sad face.
Once your nails are dry, carefully peel a smiley sticker of your choice from the sheet using a pair of tweezers. Apply the sticker to your nail, gently pressing down to secure your smiley. Repeat across all of your nails, adding an extra sticker or two as desired. We really enjoy the consistency of this pastel pink ‘confuzzled’ face. But with a whole suite of emotions to choose from, you can be more selective about which smileys sit on which fingers. Seal your stickers with a layer of top coat and allow to dry.

Silent Brights
To create this look you’ll need
- White Nail Polish (we’ve used French White)
- Assorted stickers from our Staycation Nail Sticker set
For the person who wants one of everything - great news, it turns out you CAN have it all. Start by prepping and cleaning your nails (scroll up for our recommendation) before applying two coats of white nail polish.
Once your nails are completely dry, carefully peel a sticker of your choice from the sheet using a pair of tweezers. Melanie’s selected a smiley face, sun, flowers, plus some pastel hearts and stars, but you can experiment with all sorts of combos. Apply the sticker to your nail, gently pressing down to secure your smiley. Repeat across all of your nails and seal with a layer of top coat. Ta-dah! The ultimate party bag for your fingertips.
SHOP STAYCATION NAIL STICKERS
More, more, more!
Keen to find the best nail shape for your hands? We have a blog for that.
While some of you may be blessed with lovely, long and healthy nails like miss Melanie Graves, for the rest of us there’s Nail Care 101. Nurse naughty nails back to good health with this nail care regimen, and this nourishing Nail Care Set.
If it’s inspiration you seek, saunter over to our tutorials and create your own sticker/nail art combo.
Cherries? Puppies? Froggies? With 40+ nail sticker designs to choose from, we’re pretty sure the choices are endless and we can’t wait to see what combinations you come up with. Please share your sticker styles with us by tagging @kesterblack and using #kesterblack.
