Your best nails start at home
If you’ve moved past gels and said goodbye to SNS, you’re in good company. More people than ever are perfecting their own manicures — and discovering how simple (and satisfying) it can be.
With the right technique and a few essentials, you can achieve a salon-quality finish at home. Our vegan, 12-free nail polish formulas make it easy — clean, breathable, water-permeable, and designed for healthy nails that look as good as they feel.
What you’ll need
- Cotton pads + isopropyl alcohol
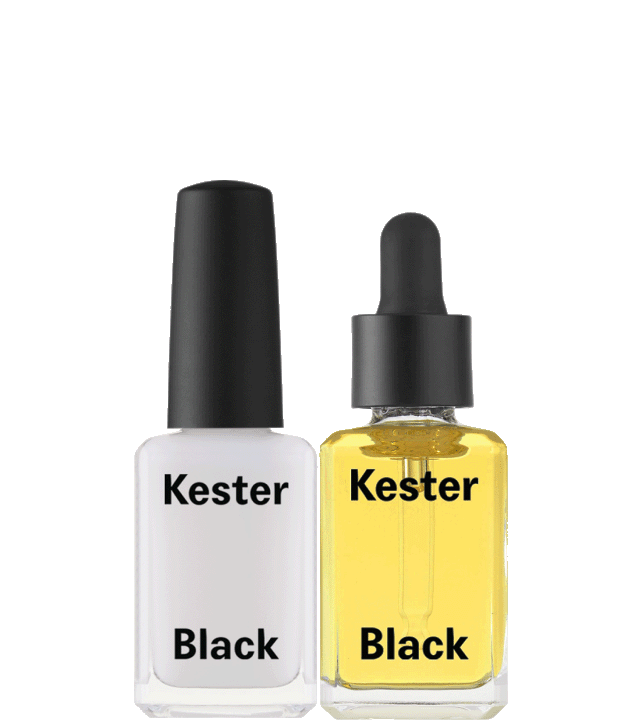
- Miracle Treatment Base Coat
- Nail Polish (your chosen shade)
- Supersonic Top Coat
- Self Love Oil
- A nail file
Tip: Wondering what to do with your cuticles? Keep them intact. They protect your nail bed from infection. Soak your hands in warm water, then gently push cuticles back with a rubber or wooden pusher. Trim only what’s loose or overgrown — a light tidy, not a full cut.
Step 1. Prepare your nails

Perfect nails start with preparation. Shape your nails before applying polish — find your most flattering nail shape here.
Then, soak a cotton pad in isopropyl alcohol and wipe each nail to remove oils or residue. This creates a clean surface so polish adheres better and lasts longer.
Nails are made of keratin (like your hair), and a little oil is natural. Cleansing removes excess — but don’t worry, hydration will return later in the ritual where it belongs.
Step 2. Apply your base coat

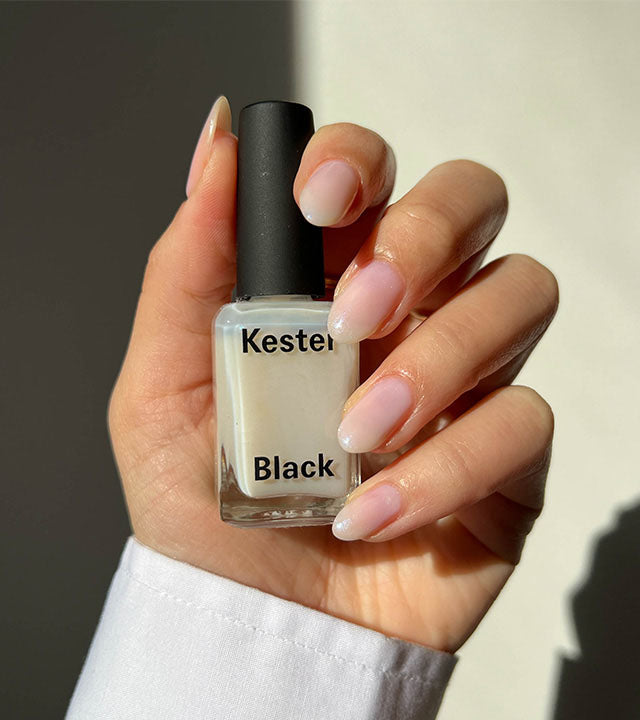
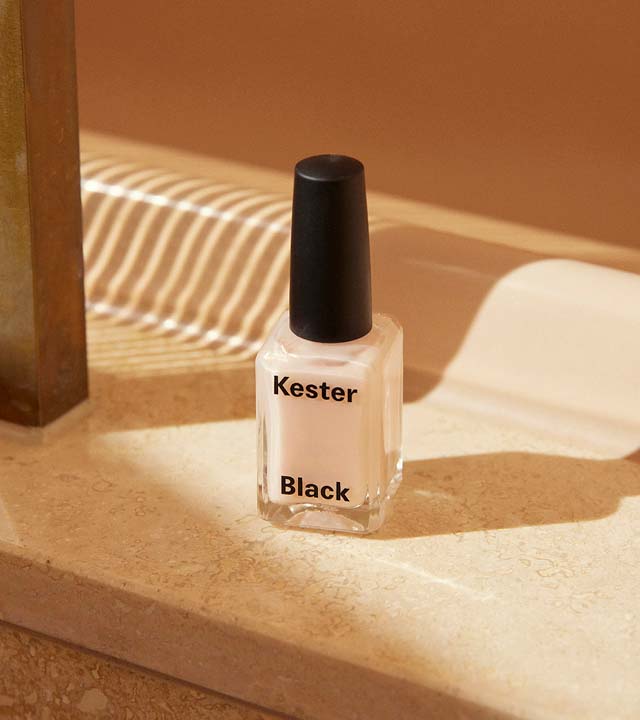
Apply a thin layer of Miracle Treatment Base Coat and let it dry completely.
This anything-but-basic formula strengthens and smooths nails while acting as a brightening base. It helps colour adhere evenly and extends wear — the unsung hero of a long-lasting mani.
SHOP MIRACLE TREATMENT BASE COAT
Step 3. Apply colour

Now for the fun part. Using your chosen nail polish, glide the brush from base to tip using thin, even coats.
For control, use the three-stroke technique — one stroke down the centre, one on each side. Allow each coat to dry for about five minutes before adding the next.
Low-toxic polish formulas are kinder to your nails — free from formaldehyde, camphor, xylene and other harsh ingredients. Beautiful colour, minus the damage.
Step 4. Protect and finish

Once colour is touch-dry, apply a layer of Supersonic Top Coat, making sure to cap the tips of your nails. This antioxidant-rich formula seals colour, adds gloss, and dries in just 60 seconds.
Pro tip: Reapply top coat every two days to refresh shine and extend the life of your manicure.
SHOP SUPERSONIC TOP COAT
Step 5. Nourish and restore

Finish with Self Love Oil — your cuticles’ best friend. Massage one drop into each nail in small circular motions toward the fingertip.
This certified organic blend of almond, avocado, jojoba, and vitamin E softens, nourishes and hydrates cuticles while promoting healthy nail growth. It also doubles as a multi-tasking skin hero — use it to melt makeup, soothe dryness, or unchap lips.
SHOP SELF LOVE OIL
Common manicure mistakes
- Peeling polish: Layers too thick or not fully dry between coats.
- Chipping: Residual oil on the nail — always cleanse before polish.
- Flaking tips: Filing too harshly; file in one direction only.
- Smudging: Avoid hot water or steam within the first hour after painting.
- Myth-buster: Cold water won’t help your polish dry — evaporation, not temperature, sets it.